Baking makeup depends on more than powder; the tool controls placement, pressure, and cleanup. A powder puff can press loose powder beneath the eyes, around the nose, or over concealer, helping set makeup with less airborne dust than a large, fluffy brush. Small detail. Big difference. The goal is not to bury the skin under a thick layer. It is to leave a fine veil where makeup tends to crease or fade. Results vary with skin type, powder formula, and how much product the puff holds.
The market context is worth noting, but it needs careful interpretation. Circana reported that U.S. prestige beauty sales reached $33.9 billion in 2024, a 7% increase from 2023; makeup sales also grew in the prestige channel. This industry tracking describes category sales, not the effectiveness of baking or any particular applicator. That distinction matters. For practical guidance, this article explains how to use a powder puff for baking makeup, from loading it lightly to pressing powder into place and sweeping away the excess. A clean, dry puff and a light touch are useful starting points. Too much powder can emphasize texture, especially beneath the eyes. And sometimes the finish still looks dry. That is not necessarily a technique failure; the powder or skin preparation may simply be a poor match. Circana’s U.S. Prestige Beauty Industry sales reporting provides market context, while individual results depend on personal testing and product instructions.
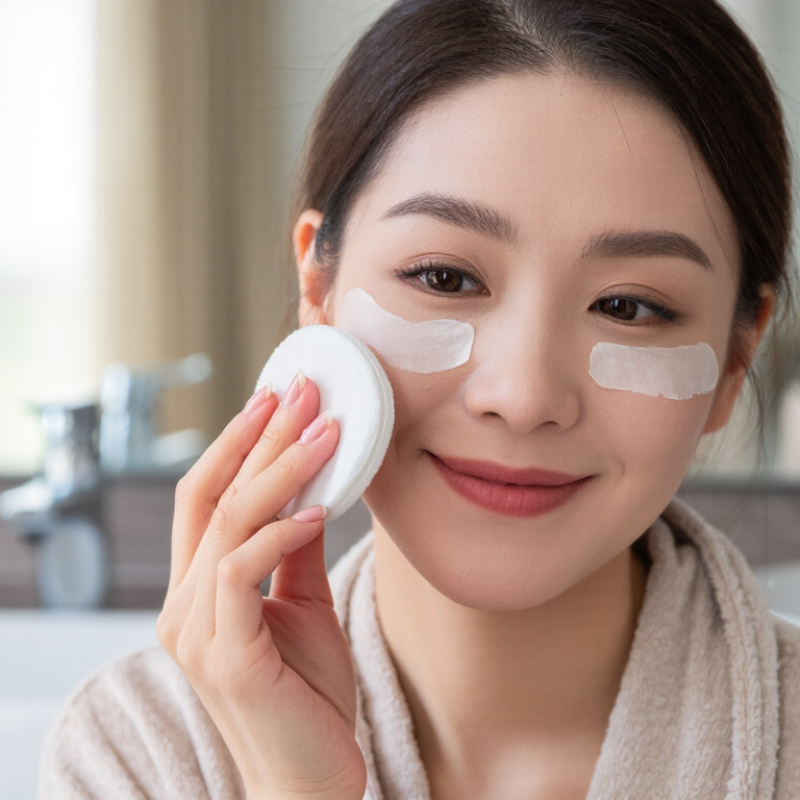
Baking makeup is a setting technique, not a cooking step. After applying foundation and concealer, press loose setting powder over areas that crease or become shiny, such as beneath the eyes or beside the nose. Leave it in place for a few minutes, then gently sweep away the excess. The pause helps the powder absorb some surface oil and set the cream products. It is not guaranteed to make makeup crease-proof.
A powder puff can place powder precisely and evenly. Fold it gently to reach the sides of the nose, then use light presses rather than rubbing. Too much powder may look dry or emphasize texture, especially on dehydrated skin. Less can work better.
Tips: Pick up a small amount of powder and tap the puff to remove extra. Press it onto one area at a time. Wait briefly, then dust off visible excess with a soft brush. If your skin feels tight, shorten the waiting time.
Check the finish in natural light. A soft, even layer should settle without leaving a thick, pale cast. Baking may suit oilier areas, but applying powder everywhere can feel heavy. Skin changes from day to day, so adjust the amount instead of following a fixed routine.
| Topic | What It Means | How a Powder Puff Helps | Practical Tip |
|---|---|---|---|
| Baking makeup | A setting technique in which a generous layer of loose powder is left on selected areas for several minutes, then dusted away. The powder does not literally bake or heat the makeup. | A puff can press powder onto the skin in a concentrated layer, rather than dispersing it as lightly as a fluffy brush may. | Use the technique selectively; a full, heavy layer may look dry or emphasize texture on some skin types. |
| Setting foundation | Setting powder helps reduce surface tackiness and can lessen visible shine by absorbing some oil. Results vary with the formula, amount used, and skin type. | The puff distributes powder close to the skin, which can help set areas where liquid or cream complexion products tend to crease. | Apply foundation in thin, even layers first. Powder cannot reliably correct foundation that is too heavy or poorly blended. |
| Common baking areas | People often bake beneath the eyes, around the sides of the nose, or on the center of the forehead and chin. | A small or folded puff can reach narrow areas and place powder more precisely than a large brush. | Avoid pressing powder into dry patches or fine lines if this makes them more noticeable. |
| Powder placement | Loose setting powder is commonly used because it can be picked up and applied in a thin or buildable layer. | Velour or microfiber puffs can pick up powder and press it onto the complexion; the amount deposited depends on the puff and pressure. | Tap excess powder from the puff before applying. Start with less and add more only where needed. |
| Waiting time | There is no single required baking duration. A few minutes is a common starting point, but comfort and the product instructions should guide the process. | The puff is used to place the powder; it does not determine how long the powder should remain on the skin. | If skin feels tight or looks powdery, remove the excess sooner rather than waiting longer. |
| Finishing step | After the waiting period, excess powder is gently swept away to leave a more even finish. | A clean, soft brush can remove loose powder without adding more product. The puff may also be used for a light press if powder remains patchy. | Use light strokes and check the finish in natural light before adding more powder. |
| Hygiene and care | Reusable puffs collect oils, product residue, and debris over time. | A clean puff helps reduce the transfer of residue and supports more even application. | Wash reusable puffs regularly according to their care instructions, let them dry fully, and replace them when damaged or difficult to clean. |
It presses powder into a small area instead of sweeping it across the skin.
Press it gently beneath the eyes, beside the nose, or along the chin. These spots often crease or need precise coverage.
Use a small amount, then tap the puff against your hand to remove excess. Less is easier to adjust.
Press, lift, and move on. Avoid dragging the puff, which can shift makeup or leave uneven patches.
A few minutes may be enough. Sweep away extra powder with a clean, fluffy brush.
No. Too much powder can emphasize dry texture or make fine lines more noticeable. The finish may feel tight.
Look in natural light; indoor lighting can hide a pale cast. A puff cannot erase every skin texture.
Wash it regularly and let it dry fully. A damp or dirty puff may apply powder unevenly. I sometimes find less looks better.
Baking makeup is a setting technique that uses a generous layer of loose powder to help foundation and concealer stay in place. The powder sits on the skin briefly, absorbing excess moisture and reducing creasing before it is brushed away. A powder puff makes this process more controlled: its soft, flat surface presses powder gently into the complexion rather than sweeping it across the makeup, helping create a smooth, long-lasting finish.
To learn how to use a powder puff for baking makeup, pick up a small amount of powder, tap off the excess, and press it onto areas that tend to crease or become shiny, such as under the eyes, around the nose, or along the chin. Allow it to sit for a few minutes, then softly sweep away any remaining powder with a clean brush. Use a light hand, especially on dry or textured areas, and remove all visible excess for a comfortable, natural-looking result.

 Hotty Beauty